【 架網站-5 】hexo的NexT主題:個人資訊篇(首頁圖片、作者圖片、網站圖標)
包含首頁圖片、作者圖片、網站圖標
新增首頁照:custom logo
Step1:將圖片上傳至/theme/next/source/images中,以我為例,我將圖片名稱取為「custom-logo pig TAO UD draw.png」。
Step2:點選「_config.next.yml」,搜尋「custom_logo」,以修改圖片的路徑。
原本是這樣:
1
2
# Custom Logo (Warning: Do not support scheme Mist)
custom_logo: #/uploads/custom-logo.png我改成:(custom_logo:後方的#記得要刪掉,才能啟用該圖片)
1
2
# Custom Logo (Warning: Do not support scheme Mist)
custom_logo: /images/custom-logo pig TAO UD draw.png成果圖:

新增作者圖片:avatar
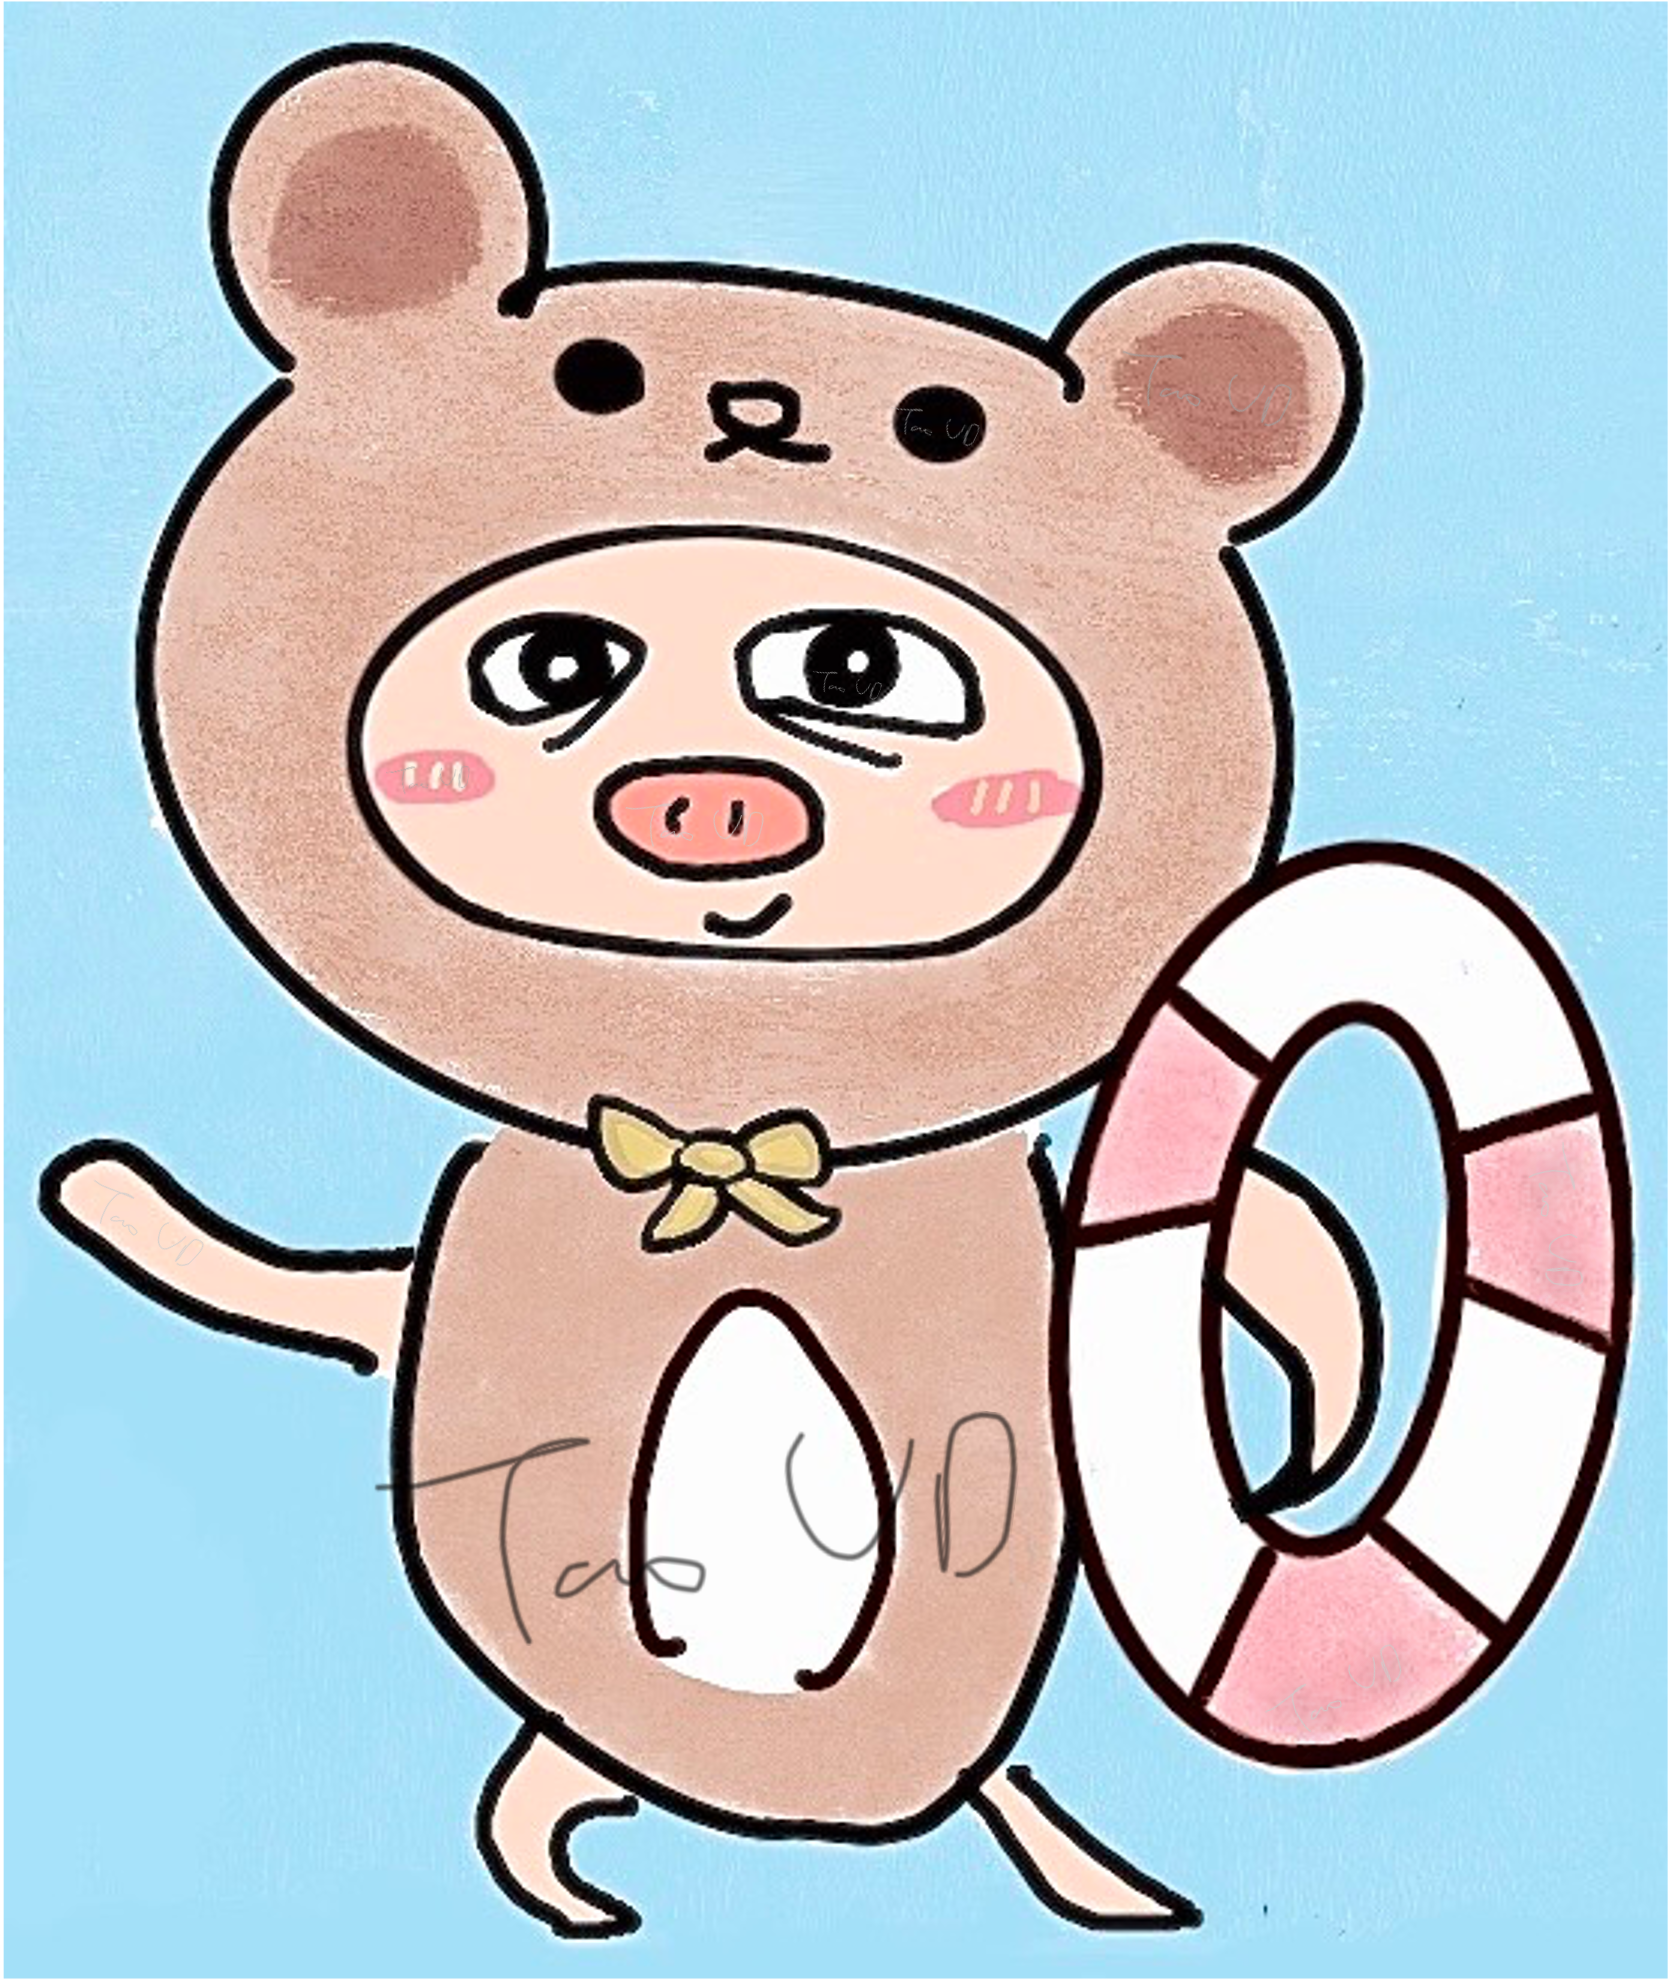
Step1:將圖片上傳至/theme/next/source/images中,以我為例,我將圖片名稱取為「avatar-bear TAO UD draw.png」。
Step2:點選「_config.next.yml」,搜尋「avatar」,以修改圖片的路徑,還可以選擇照片邊框是否要圓形、是否要旋轉。
原本是這樣:
1
2
3
4
5
6
7
8
# Sidebar Avatar
avatar:
# Replace the default image and set the url here.
url: #/images/avatar.gif
# If true, the avatar will be displayed in circle.
rounded: false
# If true, the avatar will be rotated with the cursor.
rotated: false我改成:(差別在第四行、第六行。第四行 url:後方的#記得要刪掉,才能啟用該圖片)
1
2
3
4
5
6
7
8
# Sidebar Avatar
avatar:
# Replace the default image and set the url here.
url: /images/avatar-bear TAO UD draw.png
# If true, the avatar will be displayed in circle.
rounded: true
# If true, the avatar will be rotated with the cursor.
rotated: false成果圖:

設置網站圖標:favicon
Step1:可以查看看「Favicon圖示產生器」,有的可將自有圖檔轉換為32*32的圖標,圖標用好後上傳至 /theme/next/source/images 中,以我為例,我將圖片名稱取為「favicon-icecream-32x32.png」。
Step2:點選「_config.next.yml」,搜尋「favicon」。
我改成:
1
2
3
4
5
favicon:
small: /images/favicon-icecream-32x32.png
medium: /images/favicon-icecream-32x32.png
apple_touch_icon: /images/favicon-icecream-32x32.png
safari_pinned_tab: /images/favicon-icecream-32x32.pngStep3:如果使用「hexo clean」清除緩存後,圖標仍然沒有更新的話,可以試試點選瀏覽器的「清除所有瀏覽記錄」。
成果圖:
